ir a principal |
Ir a lateral
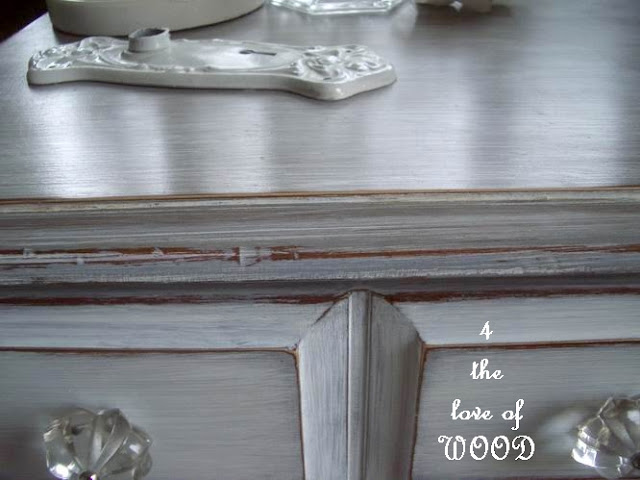
The feel of this dresser is definitely shabby chic wonderful,
and is super smooth to the touch with the finish I have applied.
It has tonnes of carved detailing every where.
The base is a soft grey and the top coat is old white.
Mixed, blended, sanded, washed, and waxed to make this beautiful look.

You can find a side by side before and after pic
here.Sharing with:
Read More..
This is really a simple project however
Ive made these instructions as detailed as I can.
Im using primers because they dry quickly and they sand easily.
First clean your furniture with a de-greaser,
soap and water is fine. I use Windex multi surface grease cutter.
You will need water based grey and white primer, some furniture paste wax
and a spray bottle of water. Prime with one quick coat of grey primer.
Brush in the direction of the wood grain, do not worry about streaks. (see picture below)
Once dry sand your edges and all surfaces smooth,
with a fine sand paper. (180 grit, 220 grit, 260 grit)
Thin your white primer with water till it is the consistency of milk.
See below how runny it is ...
Start by practising your technique on the top surface.
The top is easiest to work on and can always have a different look then the body.
Have your spray bottle of water ready to thin your white more while working with it.
Also have a cloth or sponge handy to help move the white around. ALWAYS move
in the direction of the wood grain and start slow you can always add.
Pictures speak louder then words.
Continue adding your white and spraying with your water bottle until you get the layered look you
want. Use your brush and rag to drag the white into a weathered white wash finish.
After the entire cabinet has the depth of white you want, sand all the edges and high points again.
Because we sanded before adding the white layers this step is quick and easy.
And now you can wax your project and call it complete.
I however went a little farther on this project.
I wanted a bit more of a punch to the top surface so I added a dark walnut gel stain to the top right
over the white. No photos of these next steps were taken as it was too messy to have my camera
around. So plz do your best to read the following instructions carefully.
Remember the bowl of white watery primer from earlier?
While the stain was still tacky I saturated it with
more white primer. And I mean I poured the remainder
of the bowl on the top and spread it from side to side.
See in the photo below the streaks of dark brown left behind.
Water base primer wont normally adhere well to an oil based stain once dried that is why I did it
while it was tacky. Next using a sponge I lightly dragged it across the top in the direction of the grain
to remove the excess white primer but leaving this beautiful finish behind.
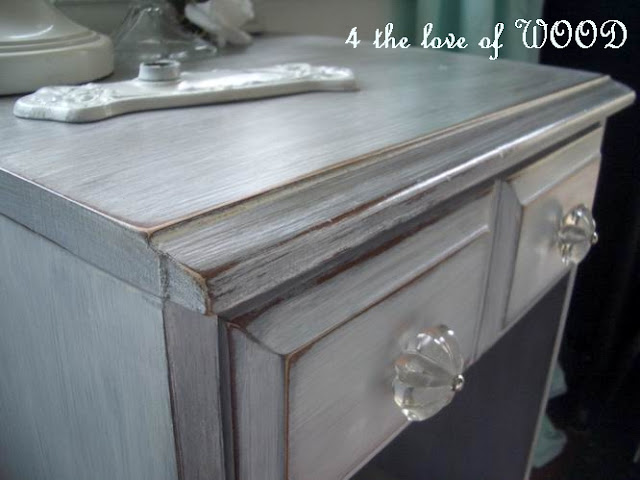
The top turned out mouth watering!
Below you can see the difference between the side and the top.
The final step is to wax and buff the whole piece,
which makes the layers really standout and the whole piece will shine.
Things to note:
- stain embeds into primer quickly so your working time is only seconds
- if you are working with solid wood pieces you can fix/sand anything you dont like
Full photos of the finished piece can be seen here:
*A BARN GEM*
********************************************
ALSO ...
Stop in to see whats new in shabby chic white hardware available at firstfinds.
There are over 1000 pieces of used hardware to choose from
Etsy Shop.
Read More..
The neighbors had a yard sale early this month,
and of course we scurried over to take a peek.
This little guy musta been hidden in their barn for a
bit of time, but was now time for a new home
..... AND A NEW LIFE!
The only products I used to achieve this look wereprimer, stain, and a finish wax. If anyone would like to
see a post on how I accomplished it let me know
below and Ill be happy to write a tutorial
with photos I took during the project.UPDATE: tutorial can be found here:*JUST PRIMER AND SOME WAX*Joining the ladys at:
Read More..